GOM starts a new webinar series for 3D testing solutions
22.10.2020 -
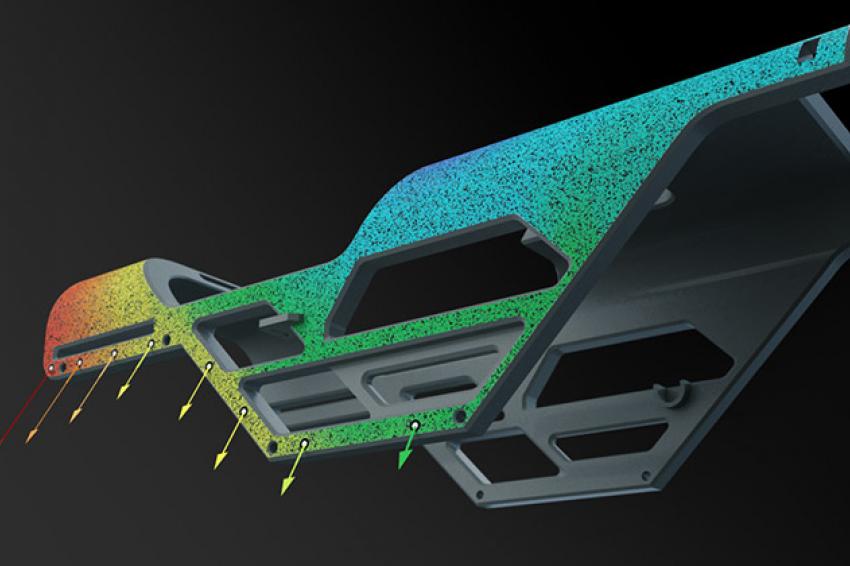
Enter the next level of measurement technology for motion and strain analysis. Learn more about the fundamental principles of digital image correlation and become an innovator in your testing department. See how easy it is to use optical measurement technology, explore the potential of the technology with presentations on applications and experience the automated solutions in structural and materials testing.
Optical measurement technology based on digital image correlation helps you to speed up your processes around your mechanical testing applications. Discover the possibilities of reducing the time needed for preparation by using optical reference point markers instead of linear variable differential transformers (LVDTs). See, how intuitive full-field results on strain and displacement accelerate the optimization of numerical simulation models and how stochastic black and white color patterns can replace hundreds of strain gauges.
The webinar series consists of four parts providing an overview of the basics of digital image correlation (DIC) up to automated solutions:
Webinar Series Part 1
Get the Best Out of Digital Image Correlation: Theory and Principles at November 3, 2020
Ever wondered how digital image correlation really works and how strain and displacement information is derived from digital images? Then take the chance and join this webinar to learn about the mathematical foundation of digital image correlation techniques and see what it takes to get started. We present the basics of image processing, show the procedures for preparing measuring objects for DIC measurements and take a closer look at the pattern correlation technique. Moreover, the calibration of stereo camera sensors for 3D DIC measurements is covered during this webinar. After watching the webinar, you have all basics at hand to understand optical measurement technology for deformation and motion analysis and to go ahead and make
your own experiences with digital image correlation.
Webinar Series Part 2
Get the Best out of the ARAMIS Measuring System at November 5, 2020
Discover, how easy it is to use optical measurement technology for strain and displacement analysis and get to know GOM’s portfolio of turn-key systems for 3D testing applications. GOM’s head hardware developer talks about the two ARAMIS sensor concepts and their key features. So, find out which sensor is most suitable for your testing application.
The complete workflow of a DIC measurement is also demonstrated during the webinar. Look over the shoulder of our GOM engineer and watch him selecting the right sensor for the measuring task, follow him through the calibration procedure and when setting up the image acquisition, see how intuitive the handling of the software is when he defines some basic inspections and experience the seamlessly integrated reporting tool for creating measuring reports.
Become acquainted with the ARAMIS system and experience the power of optical measurement technology for 3D motion and strain analysis.
Webinar Series Part 3
Get the Best Out of Applications in Research and Development at November 10, 2020
Optical measurement technology has established in mechanical testing departments and materials testing laboratories for the 3D analysis of deformation and motion. The non-contact technology provides a previously unknown wealth of full-field measuring data on shape, displacement and strain and is the perfect tool for validating and optimizing numerical simulations. Both materials testing and component and structural testing applications are brought to the next level with optical metrology.
Discover the versatility of optical measurement technology in the webinar “Get the Best Out of Applications in Research and Development”. Learn from experienced customers how they benefit from the non-contact measuring system ARAMIS in their day-to day testing routine and how ARAMIS helps them to overcome their challenges in new product development.
Webinar Series Part 4
Get the Best Out of Automated Solutions for Structural and Materials Testing at November 12, 2020
The ARAMIS Kiosk Interface is a powerful tool for automating your mechanical testing applications with the help of optical measurement technology. The Kiosk Interface enables maximum automation of your testing process: from the measuring procedure to the evaluation of the 3D data up to the creation of measuring reports that are ready for final approval by the user.
The ARAMIS Kiosk Interface offers automated solutions for the materials and structural testing world. With a focused user interface and streamlined processes in the software, ease of use is one of the key strengths of the automation tool. Especially when a high throughput of samples is required and user-independent results are a must, the ARAMIS Kiosk Interface brings huge benefits by saving time and money.
Join the webinar to explore the full potential of the ARAMIS Kiosk Interface for automating your mechanical testing application with the power of optical measurement technology.


